I have discovered, through trial and error, that the
best (subjectively and currently known to me) approach to applying the JB Weld to the metal wheels is to use a flat tip artist's brush, pre-prepared with JB Weld (work into brush, clean thoroughly with a rag, let cure). Apply the epoxy thinly in very small amounts at a time, applying considerable force and working the epoxy down into the pits and worn/corroded-away areas. Then run the wheel back and forth with a lot of pressure over a flat plastic surface (the lid of a large yogurt contain in my case). Excess epoxy will transfer to the plastic surface, while the epoxy stays in the pits. Then use the brush, wiped clean again, to remove excess from the sides of the wheels. For areas of extensive damage more epoxy may need to be applied to build the area up slightly higher than the curvature of the wheel. When the epoxy is cured, sand the surface with a curved sanding block (I made mine using a forstner bit of the same dimension as the wheel, cutting off one side of the resulting hole, wrapping a strip of coarse sandpaper around a wheel and using it to sand the curve larger to accommodate the thickness of the sandpaper, and then finally gluing a strip of the same sand paper into the curve).
I may attempt to fill in the pits on the sides of the wheels, as well, using the epoxy like Bondo on a car. This will require different technique.
Here are the results on the most badly damaged of the wheels. The pictures show the same wheel at different quarter turns. The two largest areas of JB Weld are the places where the wheel was worn down to the wood and where there was a large impact dent in the surface. N.B.: this is the first wheel I did, and as such I took a much more difficult and time consuming path to get this result than the path outlined above--make mistakes and learn.

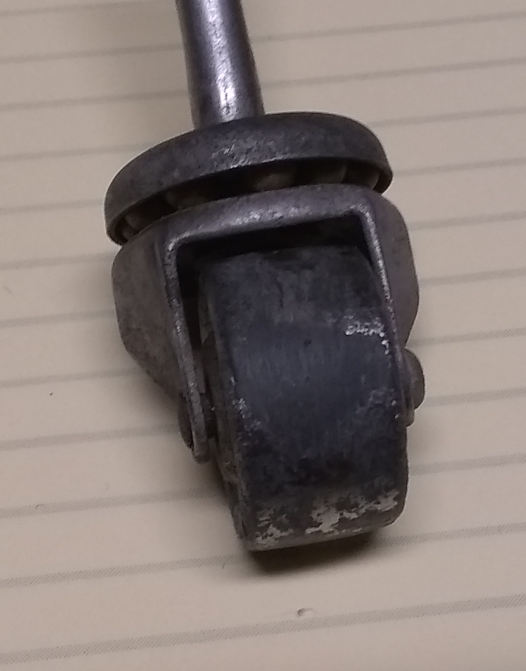
- Screenshot from 2023-08-10 05-29-13.png (309.12 KiB) Viewed 3252 times

- Screenshot from 2023-08-10 05-30-20.png (306.65 KiB) Viewed 3252 times
![[The Talking Machine Forum - For All Antique Phonographs & Recordings]](/styles/we_universal/theme/images/the_talking_machine_forum.png)


